# Using npm tasks and commands in Visual Studio (2022, 2019, 2017, 2015)
Español | English
As Visual Studio users we are used to some of the work being automated in the development environment, but sometimes we need to run npm tasks or commands in our project such as converting TypeScript to JavaScript.
To achieve the automation of these tasks we can make use of our package.json file through the Visual Studio Task Runner Explorer (Task Runner Explorer).
# Installation of NPM Task Runner
The first thing to do is to install the NPM Task Runner extension (opens new window). This will display both the default install and update npm scripts, as well as the custom scripts that we have defined in our package.json file.
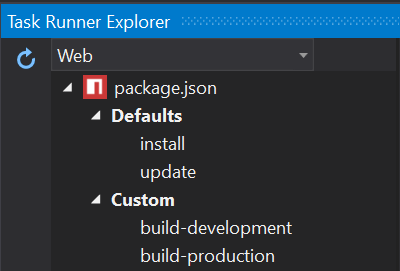
We can access the Task Runner Explorer from the context menu by right-clicking on our package.json file.
# Script execution and programming
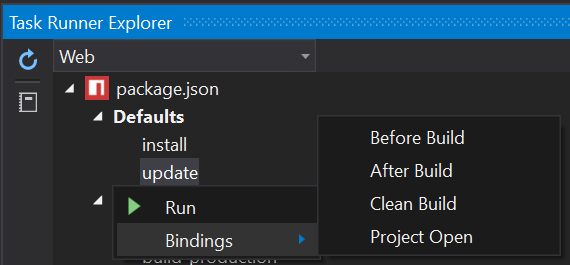
It is possible to run the scripts from the explorer by double clicking on them or with the right button and the option Run (Run).
It is also possible to schedule the execution of the scripts by associating them to different operations of the project (we can associate several operations to each script): Before Build (Before Build), After Build (After Build), Clean (Clean) or Project Open (Project Open).
# Problems with NPM Task Runner, Visual Studio and ASP.NET Core
When our package.json file is located in the wwwroot folder (or other folder than the root of the project), the Task Runner Explorer will not recognize it, so we will have to create a second package.json in the root path of the project in which we will redefine our scripts.
In the new package.json file we will set the script execution path based on our resources. So, in the following example we will add cd wwwroot && at the beginning of the build script for packaging with Webpack our resources located in the wwwroot folder.
{
  ...
  "scripts": {
    ...,
    "build": "cd wwwroot && webpack"
  },
  ...
}